Showing posts with label chocolate. Show all posts

Cocoa Panna Cotta

>> Friday, August 23, 2013


When I was in high school, I found out that instead of passing on her high cheekbones and smooth skin genes to me, my mum gave me her genes contributing to high cholesterol. I still remember the day my doctor told me that she's never seen anyone my age with such a high cholesterol level, and presented to me a guide to healthy eating issued by the NSW government.

That was quite a shock to me. Me? Really? Sure, I may be a liiiiiittle on the chubby side, but hey I thought that was just 'baby fat' that'll disappear eventually! As reality sank in and as I read up on the risks associated with having high (bad) cholesterol, I really thought I had to say goodbye to those luscious desserts like crème brûlées, butter-filled pastries like croissants and my favourite deep-fried seafood basket (or anything deep fried, really.)


And I became overly sensitive to whatever was on my plate then. I would push away my favourite fish roe (caviar) sushi at Japanese restaurants and apply strict portion control to any dish that contains traces of butter or cream (e.g. ice-cream!). In my head, I was constantly calculating how many egg yolks I had eaten that week, and dissecting food on my plate so much that you'd probably be put off sitting next to me.

And I started to exercise. There was a period in my life when I'd go to the gym 5 times a week - even on Saturday mornings I would walk 30 minutes to the gym and do 2 hours of fitness classes. Slowly I began to see my cholesterol level come down bit by bit. But no matter how much exercise I did, it was still considerable higher than most people's, due to the genetic component. 


These days, I'm definitely nowhere as meticulous about my diet as before (and don't exercise much these days.) Egg tarts, laksa and fast foods I will enjoy once in a while, but I ensure that along with portion control, my diet is loaded with wholesome cholesterol-lowering foods - like oats, nuts and fatty fish (omega 3 fatty acids) so that my cholesterol level stays under control.

And if you've been following my blog for a while, you'd know that this is not a blog filled with butter-rich recipes or cake with layers of cream in them. You are also less likely to find anything overly rich or sweet. I may indulge once in a while but over the years, I've learnt to substitute for more wholesome alternative ingredients in my cooking and am still learning! 


Panna cottas used to be something that I would not even think about making. The idea of jellifying pure cream used to make me shudder. I would imagine my arteries clogging causing an early stroke and the newspaper article would read, 'Stroke strikes young girl after consuming panna cotta'. 

But after I saw this panna cotta in Donna Hay's magazine this month, I knew I had to make it. My sweet tooth talked me into making it. I have made several minor adjustments to the recipe. Yes, it still contains cream so if you're watching your weight (or cholesterol like me), you should probably share around. It looks luscious and indulgent and indeed it tastes that too! The addition of buttermilk to cut back on the cream does not make much difference to the taste. I was worried that I have added too little sugar, but it turned out perfectly sweet to my palate.


It's great to indulge once in a while and this definitely makes for a simple and no-fuss dinner party dessert! 

Oh and you can omit and cocoa and make a mango version too like I did:


Tweaks: I adapted the recipe from Donna Hay. Instead of the 2 cups of cream called for - I used 1 cup of cream and 1 cup of buttermilk. In place of the white caster sugar I used raw sugar and cut it down to ½ (from 1½ cup - it was sweet enough for me.)

Cocoa Panna Cotta
  •  ¹⁄³ cup (80ml) warm water
  •  3 teaspoons powdered gelatine
  •  1 cups (250ml) single (pouring) cream
  •  1 cup (250ml) buttermilk
  •  ½ cup (110g) caster (superfine) sugar
  •  2 teaspoons vanilla bean paste
  •  1 cup (100g) Dutch cocoa
  •  1 cup (250ml) milk
1. Place the water in a small bowl, sprinkle over the gelatine and stir to combine. Set aside for

5 minutes or until the gelatine has been absorbed.

2. Place the cream, sugar, vanilla bean paste and cocoa in a medium saucepan over medium heat and stir to combine. Bring to the boil, stirring frequently, add the gelatine and stir to combine. Remove from the heat and strain into a bowl.


3. Stir through the milk and pour the mixture into 6 x 10cm (180ml) deep fluted tart tins.


4. Refrigerate for 3–4 hours or until set. Turn out onto plates to serve. Makes 6 For best results, make ahead of time and refrigerate overnight.

Tip: To turn the panna cottas out onto serving plates, invert the tin onto the plate and shake lightly to release the panna cotta. (I actually soaked the tin in hot water for a few seconds).


I'd like to know, has your health ever changed the way you cook or eat before?

Read more...

Donna Hay's Our Ultimate Chocolate Layer Cake

>> Wednesday, February 15, 2012


It occurred to me the other day how sentimental I can be.  It's not so much that I keep and refuse to part with 'old' things (to some extent, yes), but I do find pleasure in saving things up.

As a child, I used to save the best bits on my plate till last while others around me dig straight into them first...and must confess that I still do e.g. eating the egg whites before the yolks, saving that piece of tender fish cheek (do you do that too?). But I've learnt in the company of certain greedy food-snatching people, it is safer to eat the best bits first ;)

There are certain things in my life which must be done in a certain way or order. And I definitely don't mean in an OCD kind of way. I just think there is a time or season for everything. And we shouldn't skip that warm up or jump to the end of that really good book.


Well this cake was definitely saved to the end of Hawaiian hens party we threw for my sister this past weekend. Yes, it's that cake in the photo above with the orange lily! But it wasn't intentional and was simply left untouched because, well, there was just way too much food! What a shame that we weren't even close to finishing half of the food prepared. To some extent, I was relieved because I wasn't confident at all about how the cake would taste as I am not much of a layered cake with icing type of baker.


So I put the cake back into the fridge after the guests left, unsure what to do with it (eating it all myself did occurr to me but thankfully I had more sense than to listen to that gluttonous voice.) One thing I do dread the most is having leftovers.

Thankfully the next day, all I saw was the last piece of it. Yes, just that piece you see in the photo. The lone orphan of a piece. Turned out my sister took the rest of it to church that day!


So, I systematically turned on the music, made myself some black tea and and curled up on the couch with a plate on my hand.

That's the only way I know to savour that last piece.

p.s. the cake was addictively delicious with the layers of not-too-sweet cream cheese icing (I did adjust the amount)! Keep watch on the oven time for the chocolate cake to make sure it doesn't dry out too much, as I would've preferred the cake just slightly more moist.

p.p.s. I actually halved the cake recipe - the recipe is meant for a 6-layer chocolate cake! That would've been even prettier!

Our Ultimate Chocolate Layer Cake
Donna Hay Magazine Nov 2011 & Channel 7 Sunrise
N.B. I halved the recipe to make it 3 layer chocolate cake.
  • ¾ cup (75g) Dutch cocoa, sifted
  • ¾ cup (180ml) hot water
  • ¾ cup (180g) sour cream
  • 350g butter, softened
  • 2 ¼ cups (495g) caster (superfine) sugar (I reduced it almost half)
  • 1 tablespoon pure vanilla extract
  • 4 eggs
  • 3 cups (450g) plain (all-purpose) flour, sifted
  • 1 teaspoon bicarbonate of (baking) soda
  • cream cheese icing
  • 270g butter, softened
  • 1.5kg cream cheese, softened
  • 3 cups (480g) icing (confectioner’s) sugar mixture, sifted (I reduced it - so instead of the 240g I would use for my half portion, I used < 200g)

Method

1. Preheat oven to 180ºC (350ºF). Place the cocoa and hot water in a bowl and whisk until smooth. Add the sour cream and whisk to combine.

2. Place the butter, sugar and vanilla in the bowl of an electric mixer and beat for 4 minutes or until pale and creamy. Gradually add the eggs and beat well to combine. Set the mixer to low speed, add the cocoa mixture, flour and bicarbonate of soda and beat until well combined.

3. Divide the mixture between 2 x 20cm-round lightly greased cake tins lined with non-stick baking paper.

4. Bake for 50–55 minutes or until cooked when tested with a skewer. Allow cakes to cool in tins for 10 minutes before turning out onto a wire rack to cool completely. Trim the tops from the cakes to create a flat surface. Slice each cake evenly into 3 horizontal slices.


While the cakes are baking, make the cream cheese icing.

5. Place half the butter and cream cheese in an electric mixer and beat for 8–10 minutes or until pale and creamy. Add half the icing sugar mixture and beat for a further 8–10 minutes or until pale and fluffy. Repeat with remaining butter, cream cheese and sugar. Using a palette knife, spread 1 cake layer with cream cheese icing and top with another cake layer.

6. Repeat with remaining layers and more icing, reserving enough icing for the sides and top of the cake. Spread the sides and top of the cake with the remaining icing.


Serves 6–8. Tip: Use a palette knife to ‘drag’ the icing up the sides of the cake for a smooth finish.


Oh, and Happy Valentine's Day! :)

I've always loved reading this story. Good reminder that love isn’t worthy of the name if we aren’t willing to share it with everyone.


Read more...

Happy Mother's Day + Whole Wheat Chocolate Chip Cookies

>> Sunday, May 8, 2011


Today especially, I love all mothers. Any mothers. Your mother and my mother

I smiled at mothers in the mall and helped a mother drag her crying/screaming boy out of the bus.

And who doesn't love the word, Mother. The first proper word out of most of our mouths!

So, my mother...my sunshine in the rain, and my oasis in the desert. She exudes unconditional love and infallible encouragement in my life.

And I will forever be unable to write down in words her worth to me. 


Recently, I flipped through old family albums and stumbled upon pictures of Mother's younger days. Days where I didn't exist...days where Dad wasn't even in the picture (don't worry Dad, there weren't any other boys). And I slowly came into a  shocking realisation...she had a life before us! (Thanks to generation ME upbringing).

So, here we go. Things I didn't know about Mother (in all colours and shades).

1. She sported a 70's hairstyle. I only got to see her 90's shoulder pads (eek!) Either way, she was up with fashion (unlike the girls she gave birth to.)


2. She's adventurous. I mean, do people actually do this kinda thing back in the days? She tells me how she had no money for food or piano lessons and here she is parachuting? I need an explanation. 


3. Mother's a gambler good at maths. I suspect she might have been one of those card counters. That'll explain why she can do crazy multiplications/divisions in her head. She denied these statements but I don't know.


4. She's creative and likes to be different. Mother cut out the original collar of her uniform and sewed her handmade collars on. 


5. She loves home renovation. Actually I already know about her artistic side but this confirms she doesn't knows how to paint. At all. Or hold a paintbrush even. But she does know how to make a home, a home. Or how to make that ugly cushion work with the sofa. She adds that kinda magic to anything.


Being someone who can't do any maths in her head and will probably pass out before being pushed out of a plane with a parachute, it looks like I didn't inherited much of Mother's genes. Hmmph, surely my sister was kidding when she said they found me in a garbage can, right? Or what was that story about being left outside the doorstep as a baby?

Heck, it doesn't matter. Because she loves me all the same. And that's why we celebrate Mother's Day.


Anyways, like most mothers, my mother is not someone who appreciates fine dining or expensive presents on special occasions, but she much more appreciates a daily phone call or a note, just to say hi.

So this Mother's Day - I've nothing extravagant prepared. Except some flowers and cookies. Rustic whole wheat cookies. Not dainty or pretty I'm afraid, but healthier (just slightly though, with whole wheat). Practical. Mums'll love that.

Whole Wheat Chocolate Chip Cookies
Adapted from Good to the Grains
Makes 16-18 cookies
  • 3 cups whole wheat flour
  • 1 1/2 teaspoons baking powder
  • 1 teaspoon baking soda
  • 1 1/2 teaspoons kosher salt
  • 2 sticks cold butter, cut into small pieces
  • 1 cup dark brown sugar (I halved this and recommend you doing so too)
  • 1 cup sugar (I halved this)
  • 2 eggs
  • 2 teaspoons vanilla extract
  • 8 ounces chocolate, chopped into bits (recipe calls for bittersweet, I used semi-sweet, because it was what I had)
1. Preheat oven to 350 degrees. Line two baking sheets with parchment or Silpats.

2. Whisk the whole wheat flour, baking powder, baking soda and salt together in a medium bowl. Set aside.

3. In the bowl of a stand mixer (or a large bowl in which you can use a hand mixer), beat the butter and sugars. Once they are creamy, add the eggs and vanilla. Beat to combine.

4. Add the dry ingredients in two batches and mix. Finally, add the chopped chocolate and just stir to incorporate.


5. Scoop balls of dough that are approximately 3 tablespoons worth. I used a quarter cup scoop to make it easy. Bake for 16-20 minutes, rotating the pans so that they each spend half the bake time on top and half the time on the bottom.


5. When the baking time is up, remove the cookies from the sheets and let them cool.


Happy Mother's Day to all the Mother's in the world. 

Thank you for showing me what unconditional love is.

Read more...

World Peace Cookies

>> Sunday, February 27, 2011


[HEART] sunny
[EYES] It's A Wonderful Life
[EARS] squeaky violin
[HEAD] Sunday night blues...
[HANDS] fluffy soft bread

I'm sure most of you have heard of the amazing Dorie Greenspan - author of Baking From My Home to Yours and co-author of Desserts by Pierre Herme!

I first came across her recipes from reading those raving reviews of those who tried and tested her recipes.

This lady must be a cookie queen, I thought.


Then about a year ago, I read about her pop-up cookie store, called Cookie Bar, in New York City.

Big chunky buttery cookies perfectly placed on trays one after another.

That night, I couldn't sleep. I not only wanted to taste and make her cookies, but I wanted to open a cookie shop like hers. Pop-up or not. Before the next morning, I had the interior decoration and shop location all thought out (being my usual obsessive self!)

The next day at work, too excited to contain myself, I even shared my idea with colleagues.

It's going to be none of that Mrs Fields or Cookie Man from the malls, but each cookie will be made with some good old TLC.

I was on cloud nine for the next few days and envisioned myself working with butter morning til night. Oh the joys.

Whilst that small 'dream' of mine never really did come true as it was not mine to have, I'm happy as I am baking Dorie's cookies from my kitchen and seeing them bring smiles to people's faces when I do share them.


These cookies are called World Peace cookies. Which really tells you a lot about what they can do to you. Yeah, pretty powerful stuff.

Dark rich chocolate that crumbles and melt in your mouth with each bite. No wonder these babies have won the hearts of people from all over the world!

While I doubt we will ever have world peace as long as there are human beings on earth, I know that if you bake these and share, it will make your day just that much brighter and sweeter.

Try it and you'll see.

World Peace Cookies
adapted from Bon Appetit Sept 2010
makes about 36 cookies
  • 1 1/4 cups all purpose flour
  • 1/3 cup natural unsweetened cocoa powder
  • 1/2 teaspoon baking soda
  • 11 tablespoons (1 stick plus 3 tablespoons) unsalted butter, room temperature
  • 2/3 cup (packed) golden brown sugar
  • 1/4 cup sugar
  • 1 teaspoon vanilla extract
  • 1/4 teaspoon fine sea salt
  • 5 ounces extra-bittersweet chocolate (do not exceed 85% cacao), chopped (no pieces bigger than 1/3 inch)
1. Sift flour, cocoa, and baking soda into medium bowl.

2. Using electric mixer, beat butter in large bowl until smooth but not fluffy. Add both sugars, vanilla, and sea salt; beat until fluffy, about 2 minutes.

3. Add flour mixture; beat just until blended (mixture may be crumbly).

4. Add chopped chocolate; mix just to distribute (if dough doesn't come together, knead lightly in bowl to form ball). Divide dough in half. Place each half on sheet of plastic wrap. Form each into 1 1/2-inch-diameter log. Wrap each in plastic; chill until firm, about 3 hours.

DO AHEAD: Can be made 3 days ahead. Keep chilled.

5. Preheat oven to 325°F. Line 2 baking sheets with parchment paper.

6. Using thin sharp knife, cut logs crosswise into 1/2-inch-thick rounds. Space 1 inch apart on prepared sheets.

7. Bake 1 sheet at a time until cookies appear dry (cookies will not be firm or golden at edges), 11 to 12 minutes. Transfer to rack; cool.

DO AHEAD: Can be made 1 day ahead. Store airtight at room temperature.

Read more...

Chocolate Banana Cake + Pumpkin Pudding with Cinnamon sauce

>> Thursday, November 11, 2010


Life doesn't always turn out the way you plan (and I'm glad that is so!)

Because if that was the case, I'd be an airline stewardess now (perhaps en route to Paris right this moment?)

That was the plan at age five. You see, I met this stewardess on the plane and she was the nicest person in my young eyes.

No one had ever bent down to my height, looked me in the eyes and with sweetest smile said to me those 5 magic words...would you like some candies?

I thought she was an angel! (Obviously Mother never taught me about staying away from strangers with candies.)

Since then I've gone through many strange phases and never would I have ever imagined back then that I'd be doing what I am doing now. Never.


Anyways this amazing cake.... You are not meant to be seeing this chocolate banana cake on the screen right now. But it just happened.

This was meant to be a simple banana loaf...something that's very close to my heart. And something I had planned to bake to celebrate my new life in the new kitchen. The very first baked item chez moi in Melbourne.

But half way through the recipe 2 things happened:

#1 I realised I do not have a loaf pan. Only a cake tin.

#2 I couldn't stop thinking about the cocoa powder and dark chocolate chips from Koko Black I had purchased the previous day.

So this cake here happened as a result.

Even though this is a recipe for a loaf, but it worked out beautifully as a cake - moist, simple, and so satisfying at 11pm on a weeknight. I was worried about the chocolate over-powering the bananas but the flavours turned out quite balanced (even though the chocolate is still on a stronger side.)

Chocolate Banana Cake
Inspired by How to be a Domestic Goddess
Makes 8-10 slice
  • 150g plain flour
  • 25g cocoa powder
  • 2 teaspoons baking powder
  • 1/2 teaspoon bicarbonate of soda
  • 1/2 teaspoon salt
  • 50g unsalted butter, melted
  • 50ml grapeseed oil (or similar neutral cooking oil)
  • 1/4 cup yoghurt (I used greek yoghurt)
  • 150g sugar
  • 2 large eggs
  • 4 small, very ripe bananas (about 300g weighed without skin), mashed
  • 100g dark chocolate chips
  • 1 teaspoon vanilla extract
1. Preheat the oven to 170ºC/gas mark 3 and get started on the rest.

2. Put the flour, cocoa powder, baking powder, bicarb and salt in a medium-sized bowl and, using your hands or a wooden spoon, combine well.

3. In a large bowl, mix the melted butter, grapeseed oil, yoghurt and sugar and beat until blended. Beat in the eggs one at a time, then the mashed bananas.


4. Then, with your wooden spoon, stir in the chocolate chips and vanilla extract. Add the flour mixture, a third at a time, stirring well after each bit.

5. Scrape into the loaf tin and bake in the middle of the oven for 1-1 1/4 hours. When it's ready, an inserted toothpick or fine skewer should come out cleanish.


6. Leave in the tin on a rack to cool, and eat thickly or thinly sliced, as you prefer.

I should have been patient and bake this for another 15 minutes...you can see the bottom is still a bit on the gooey side.

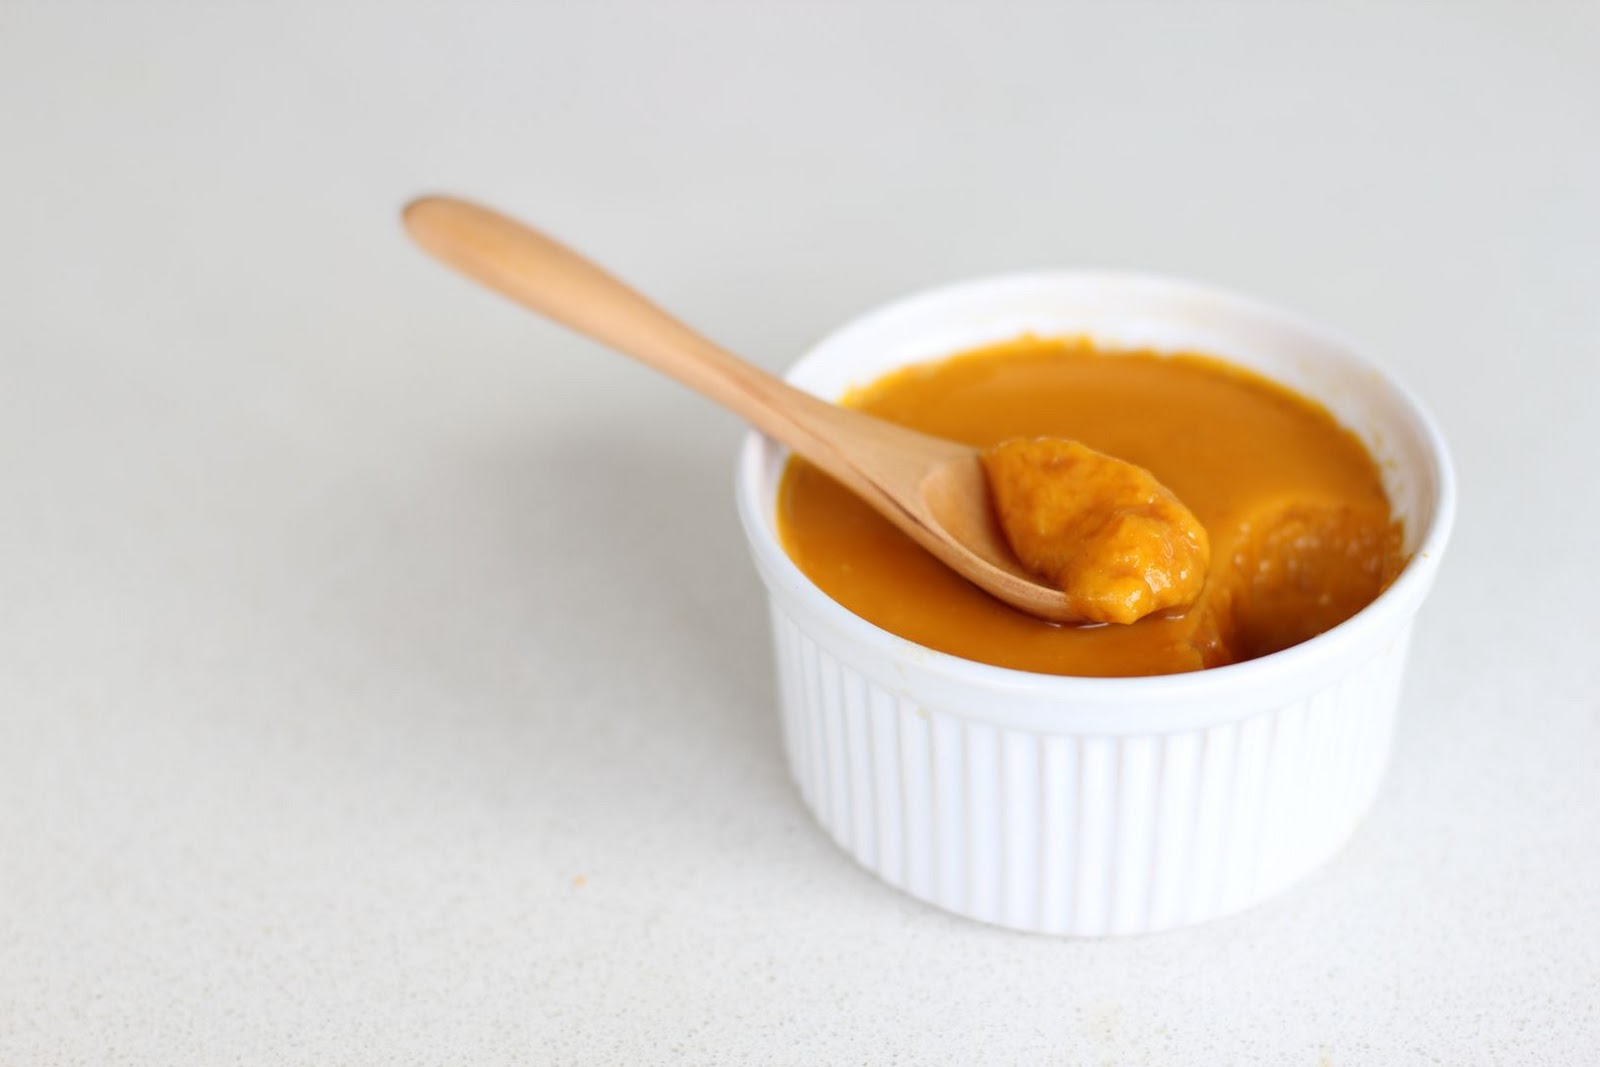
Oh, and remember the pumpkin pudding recipe I promised a few posts back?

Sorry for the delay...but better late than never right? I hope you make this and enjoy it as much as I did. Puddings are great...I reckon the saying should be 'a pudding a day'. Not 'an apple a day'.


Pumpkin pudding with Cinnamon Sauce
  • 300g Pumpkin
  • 40g Sugar
  • 1 cup Milk
  • 1/2 cup Water
  • 5g Gelatine powder
Sauce
  • 1 stick cinnamon
  • 2-3 tbsp brown sugar
  • ~1 cup water
1. Soak the gelatine powder in 25mL of water until softened.

2. Remove the skin from the pumpkin and chop into bite-size.

3. In a pot over the stove, add water, milk, sugar and pumpkins. Cook until the pumpkins are soft.

4. Use a processor or blender, blend the pumpkin mixture until smooth.

5. Once the blended mixture is slightly cooled down, add the gelatine from step 1 above and combine until it is dissolved into the mixture.

6. Ladle the mixture into ramekins or pudding moulds and keep in fridge for at least 30 minutes until the pudding sets.

7. For the sauce, put the water, sugar and cinnamon stick in a small pot and bring to boil. Let it boil for a few minutes until the cinnamon flavour is infused into the liquid.


So tell me, what did you plan on becoming? I'm curious about how many people actually become what they had dreamed of.

Read more...
Chocolate and Apple French Toast

>> Saturday, October 30, 2010


Ok, this isn't how it was supposed to happen this morning.

I'm usually pretty good with breakfast.  I have my heart healthy oatmeal or quinoa and a whole lot of fruit on a normal day. And if you have been reading my blog, you'd know that I do try to post healthy recipes and enjoy taking out 'bad' ingredients in my meals and substituting them with more wholesome alternatives.

But maybe today just wasn't a normal day.

You see, I woke up craving for chocolate. And some jazz. A strange morning indeed.


Then a block of chocolate with raisons and pistachio from Koko Black was just sitting on top of my dressers.

It was meant to be sent to a friend in Sydney last week but unfortunately I left it near my window and the sun melted the chocolate and turned it slightly wonky shaped.

That can only mean one thing. I need to buy another block of chocolate...and eat the wonky one myself.


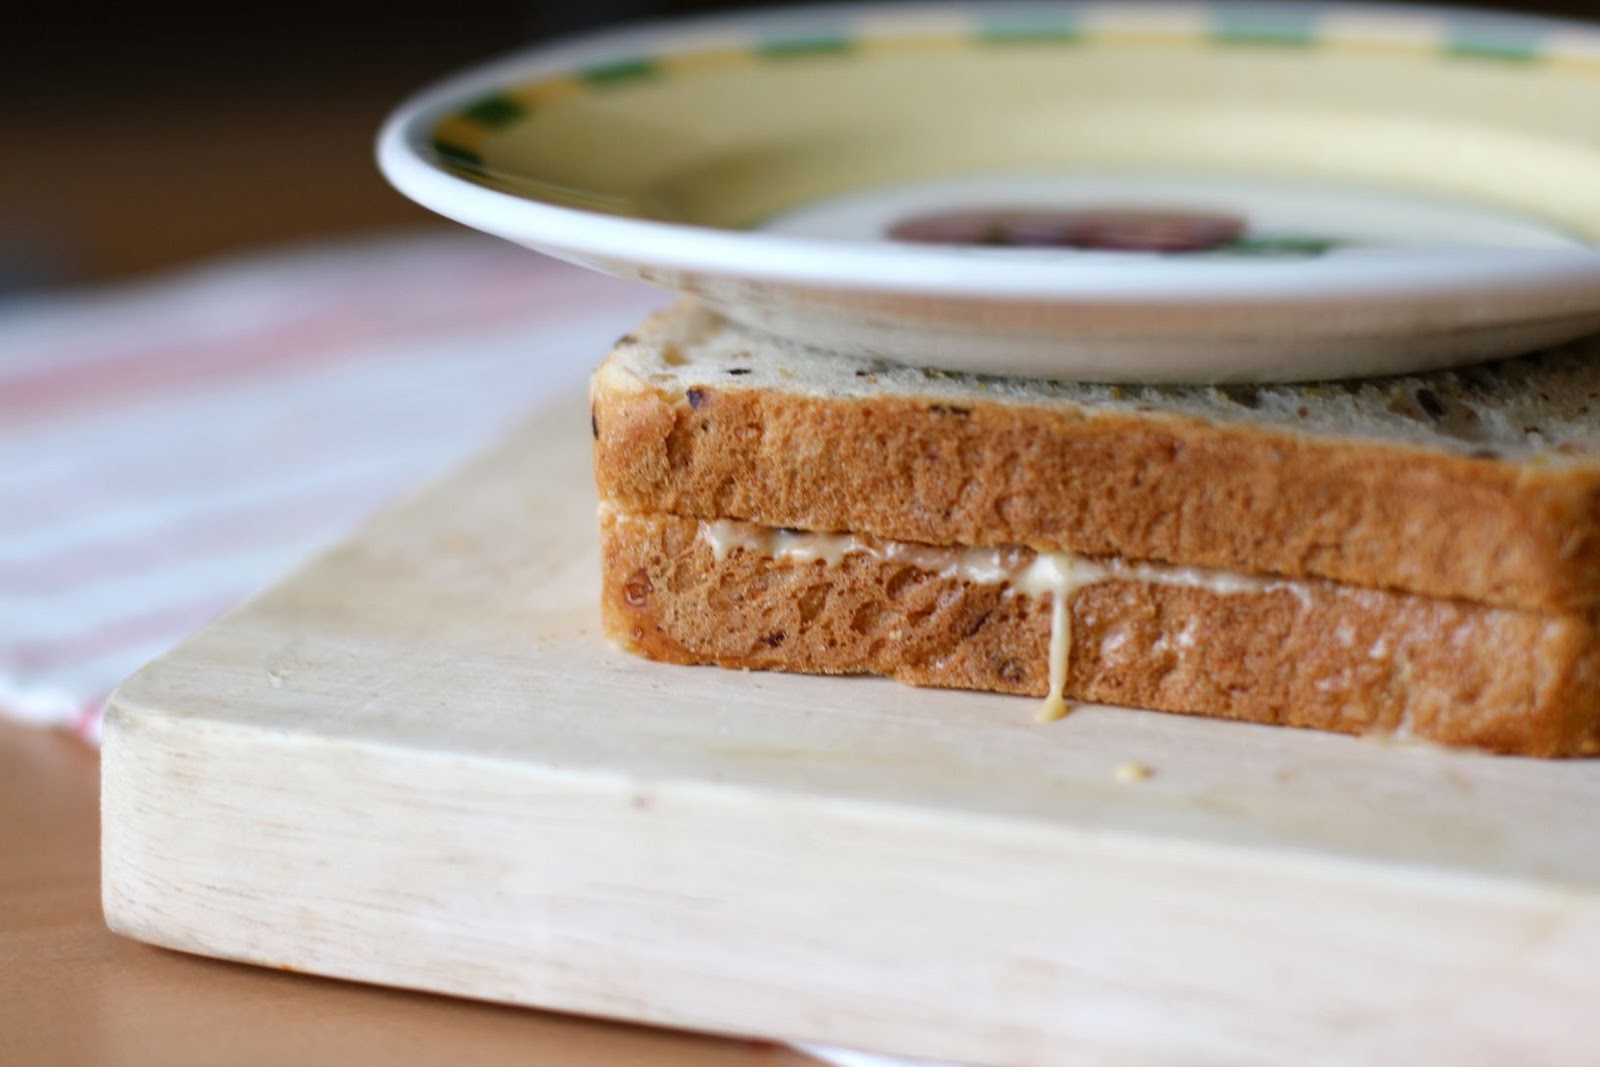
So I turned it into a french toast along with apples. 

Oh my...I'm not sure if this was a good idea afterall.

Because I don't know if I can ever go back to my oatmeal. 

As if french toasts aren't tempting enough, the addition of the melting chocolate goo and the crunch of the apples makes eating this so finger-licking good. I think bananas or strawberries would work well here too.


Chocolate and Apple French Toast
Inspired by Masa
Serves 4
  • 8 slices of toast (I used multi-grain)
  • 1 Fuji apple (don't use granny smith)
  • 2 blocks of chocolate
  • Handful of Almond slices
Flour Batter
  • 1 tbsp of flour
  • 1 egg
  • 1 tbsp melted butter
Milk Batter
  • 1 egg
  • 200ml milk
  • 1 tbsp sugar (I used brown sugar)
1. Mix all the ingredients from the Flour Batter section of the ingredients together in a small bowl.

2. Peel and slice the apple thinly and place evenly on the toast. 

3. Break a block of chocolate in half, and place it on top of the apples on the toast.


4. Use a spoon to carefully ladle the flour batter onto the side of the toast before placing another slice of toast on top of it. Place a plate on top of the 2 slices to ensure they stick together.


5. Mix the ingredients from the Milk/Egg Batter together in a large bowl and dip the 2 'glued' slices of toast into the batter on both sides. Make sure you don't dip it for too long otherwise the toasts will be soggy.


6. Turn the gas on low heat, add some butter as once it's melted add the sliced almonds and gently stir around the pan.


7. Place the batter-dipped sandwich onto the pan directly on top of the almonds and leave it there until it is golden brown on the bottom side. Flip the sandwich over and again wait until it is golden brown. Remember the gas/stove is to be set on low, you don't want the crust to be burnt and the chocolate not melting inside.


8. Once out of the pan, place on a board and cut it in half!


Oh, and it might be a good idea to sprinkle some icing sugar (powder sugar) on the toast. I didn't have them in my pantry.

But yeah, you know the rest.

Go make yourself some tea or coffee and sit back. Watch the rain outside (raining on Melbourne Cup weekend!) and and turn on some sweet vocal jazz ;)

Read more...

Steamed chocolate and adzuki (red bean) cupcakes

>> Sunday, October 17, 2010


I don't mean to bore you with another steamed cupcake recipe, but I enjoyed this cupcake so much that I do want to document it for future reference :)

When I think back on the past few years, certain things have been tough. In fact, very tough.

There were days when I felt completely defeated. You know, those days where you just can't see the light at the end of the tunnel? But usually sometime during the day, I'd get a text message saying,

'Meet you at the gym at 6:45pm?' from my friend Miss P.

Despite my exhaustion, I did look forward to those gym sessions...because, truth be told, those weren't really gym sessions. I did jog (ok, I mainly strolled) on a treadmill with my fancy and shiny sneakers, but for the next half hour or so, I would pour out all my days frustrations and minute details to this dear friend (poor girl!) and she'd walk alongside with me and listen.

And eventually I'd feel calmer and inevitably, I'd start talking about food...

...and when I'm talking about food - I am laughing and I am rejuvenated and relaxed. The treadmill would then read 30 minutes and it's time to call it the end of a tough workout session.


So one thing I am missing now that I have moved away is an exercise buddy. Actually it's more than that. I'm missing a good friend who sometimes has to sample some of my baked goods gone wrong and who, like me, believes that ice-cream should be part of your everyday diet ;) I cannot recall how many times we've visited Coles just to stroll through their ice-cream section!


So obviously this post is dedicated to this dear friend. Not only is she truly a genuine and beautiful friend, she's the type of person who really prays for you and is always conscious of the things going on in your life.

Having friends like these are such blessings huh?

Thank you for the friendship and the encouragements. Gym sessions will never be the same again without you!

*--------------------------------------------------------------------------------------------------------------*

Miss P treated me to delicious meals and gave me a most thoughtful present just before I left..so I baked (no, I steamed!) those incredible cupcakes for her just to say, thanks! They're super soft, moist and rather healthy! I used whole adzuki beans (as opposed to red bean paste) to add texture to the cupcakes. Red beans on it own are rather flavourless. But when mixed with chocolate, you can just smell the faint aroma of the beans but they hardly overpower or clash with the rich chocolate in anyway. 

If you're a fan of red beans like me, give this a go - I think you'll like it! 


Steamed chocolate and adzuki cupcakes
Makes 6 cupcakes

Ingredients (updates in RED)
  • 2 large eggs
  • 30g sugar (I used brown - you may want to up on this to say 50g as I tend to prefer my food not too sweet)
  • 1/4 cup of milk (or yoghurt)
  • 1 tablespoon grapeseed oil (can use other oil like canola or olive)
  • 40g all purpose flour
  • 20g cocoa powder (I used dutch processed)
  • ~50g cooked adzuki beans (whole)
  • 1 teaspoon baking powder
1. In a bowl, beat the eggs lightly then add the sugar and mix well.

2.  Then add the milk (or yoghurt) into the mixture as well as the grapeseed oil. Beat well.

3. Sieve the flour, cocoa powder and baking powder and incorporate into the egg mixture and mix until the batter does not have white parts from the flour.

4. Finally incorporate the adzuki beans into batter and mix gently.

5. Ladle the batter into 6 separate cupcake/panna cotta containers which are lined with cupcake liners/muffin cups. I used jelly moulds! Please refer to my previous 

6. In a large pot (I used cast iron casseroles), fill it with enough boiling hot water such that when you put the cupcakes in, the water comes about half way on the mould. Refer to the photo in my previous post.

7. Steam for around 13-15 minutes with the lid on on low-medium heat. I prefer to wrap a cloth/towel on the lid to prevent water droplets dropping onto the cupcakes. Don't steam over-time as the cake will become 'soggy'.

8. Carefully remove from pot as the cupcakes will be steaming hot!


Read more...
Related Posts with Thumbnails

  © Blogger template Simple n' Sweet by Ourblogtemplates.com 2009

Back to TOP